Do you want to create your dream website but don’t know how to start?
Starting a blog can be confusing incredibly when you need to be techier.
What do you need to start a blog?
- Web hosting
- This is the house of your website on the internet
- I will give the cheap but best hosting that also I used.
- Domain name
- Name of your desired blog (i.e infofactshub.com)
Get Web Hosting
Web hosting is a service that allows you to upload your website files to the internet. As a result, anyone with internet access can visit your website.
We are using Hostinger Hosting because of the great feature and The Cheapest Web Host yet Reliable, Secure, and Faster
Hostinger Everything You Need for WordPress
Let your WordPress website shine. Get the best results with LiteSpeed-powered servers and custom-built advanced WordPress optimization tools.
Hostinger Takes Security Seriously
Don’t leave your website vulnerable to cyber attacks. Instead, get in-house developed WAF with Premium and Business web hosting plans and keep your website safe.
No Experience Required
With Hostinger, you don’t need to be a pro to get started. Thanks to the easy-to-use control panel and intuitive interface, you will be able to launch your website within minutes. Worried about a language barrier? Don’t be – our hPanel is localized for 15 languages.
Thankfully, hostinger, an official WordPress recommended hosting provider with free domain name and over 70% off on web hosting.
- – After that, you will be asked to enter the domain name for your website.

- = If you chose Premium or Business Web Hosting you have a free domain.
In this tutorial, We are using WordPress
Because of its roots in blogging, WordPress is a powerful content management system. An administrator can easily navigate the backend of their WordPress site, edit pages, and upload new content. Without a lot of website management knowledge, WordPress makes it simple to organize content.
Installing WordPress
- – after you choose your desired domain you will be redirected to dashboard. on the menu bar click hosting tab.

- – and then click manage.

- – On the left sidebar click Website and then click Auto installer.
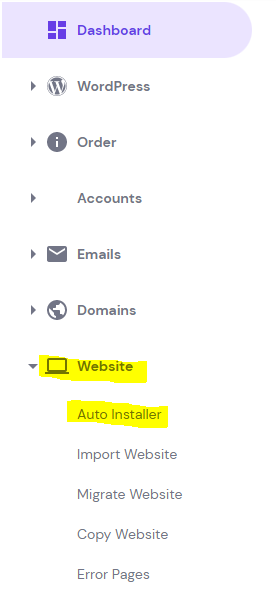
- – And you will see the wordpress and click select.

- – Fill out the website credentials and click next
note: administrator email and password will be used on logging in the admin section.

- – And click install

- – After the installation, you will be redirected to the dashboard.
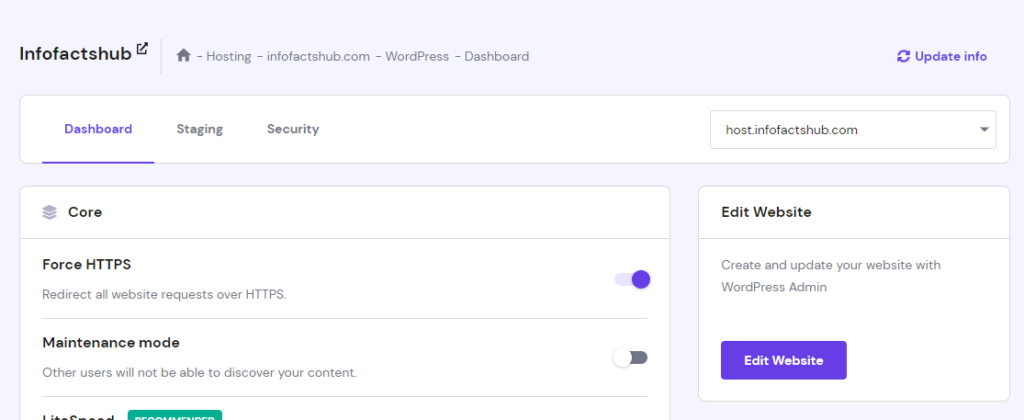
- – And you can now visit your domain by typing your domain name into the web browser.
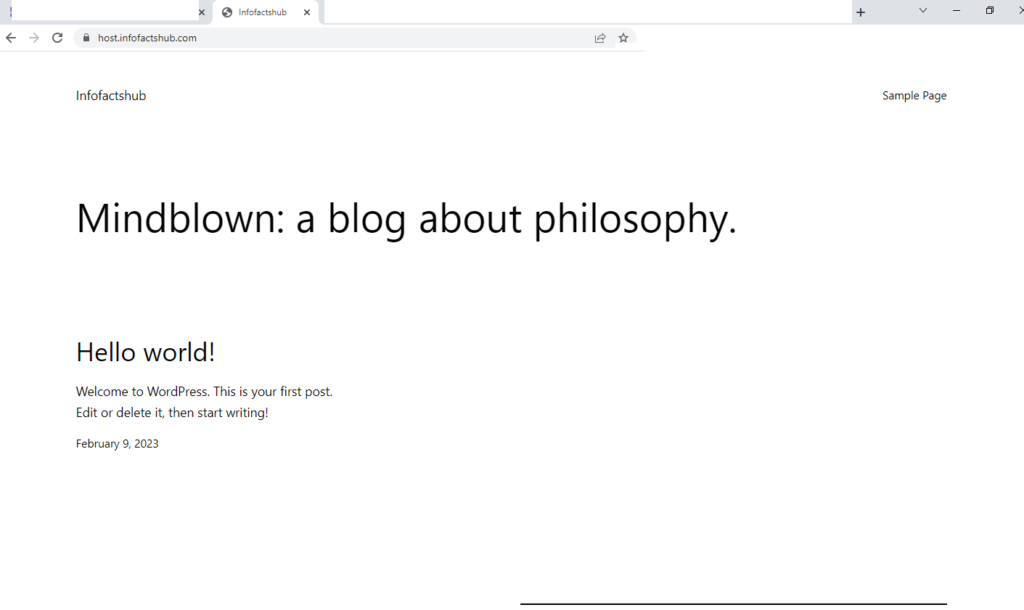
Writing Your First Blog
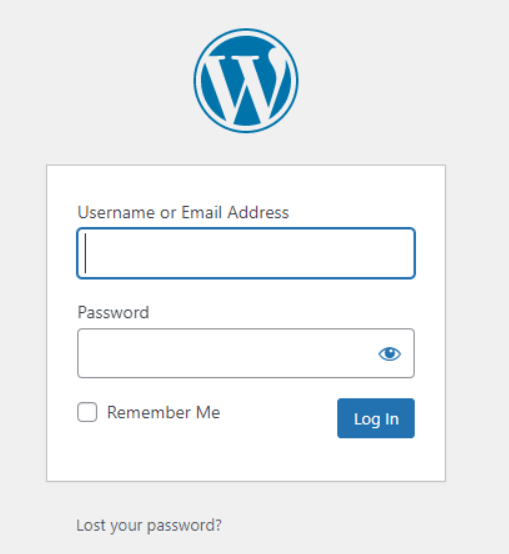
- – To start creating your first post, You need to login in admin dashboard by typing

- – You will see the login section. Enter the credentials that you created earlier.
- – After that, you will see the WordPress dashboard.
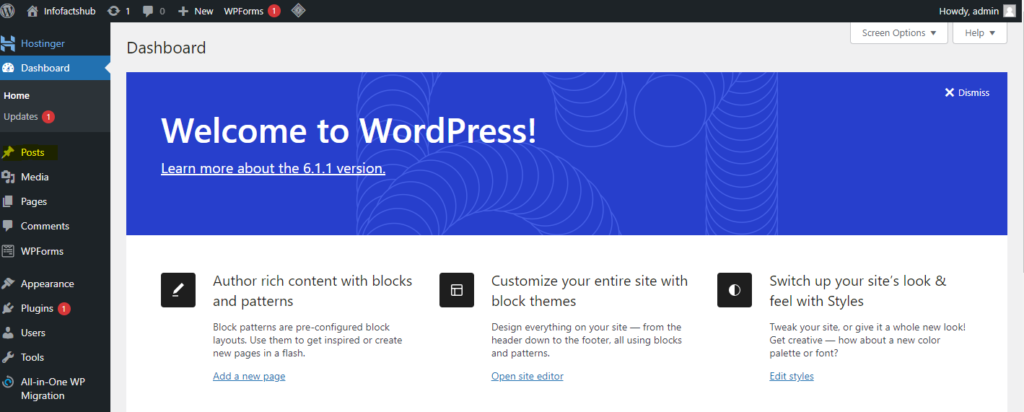
- – Click Post on the left sidebar, and click add new.

- – And you can start writing your first blog
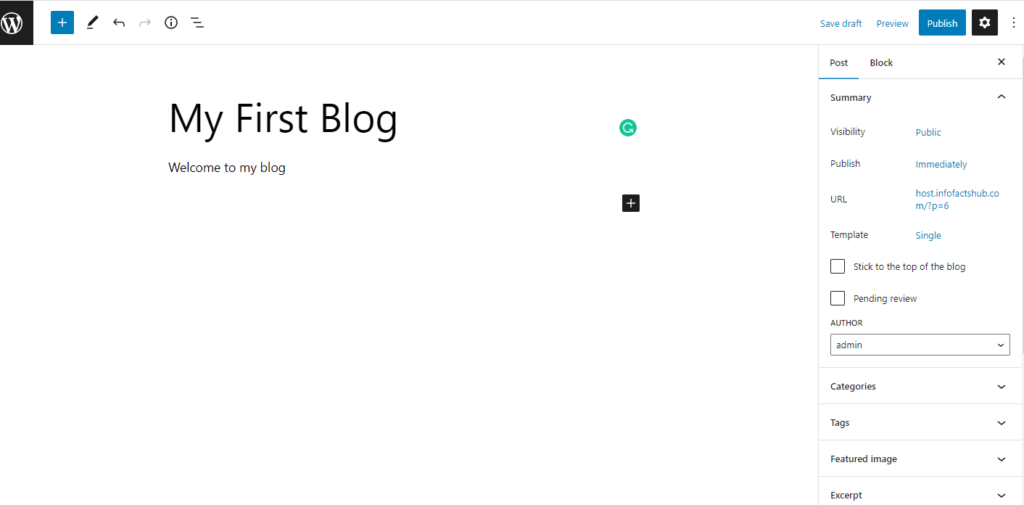
- – After that click publish so that you can see your post on the website.

- – You will see the confirmation and click publish.

Congratulations, you wrote your first blog.

